Guess what. . . I got another idea from my friend Ashley (and Pinterest). I wasn’t in the mood to spend the whole day making cookies so I thought I would try a treat with a little less time involved. That is, less active time. This treat needs to chill for a while. You can get the original recipe and wonderful instructions for Candy Corn Fudge by clicking the following link. http://www.somethingswanky.com/2011/10/fudge-candy-corn.html. This is her recipe, I am not in any way taking credit for it, I am just documenting my own adventure with it. In fact I am not going to give any proportions for the recipe because you need to visit her site and give her credit for her work.
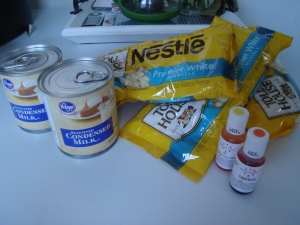
The first thing you need is a beautiful fall day to walk to the grocery and buy the following ingredients.
Really simple, right? Condensed milk and white chocolate chips. I don’t normally buy name brand but today they were on sale and cheaper than the store brand. Also, you cannot buy my fabulous Americolor food coloring at the grocery store. I read about how great these gel colors were on other blogs and finally bought mine (on amazon.com) and now I have to spread the word. They are AWESOME!
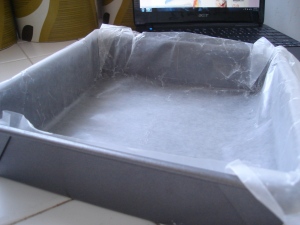
Then you line your 9×9 pan with wax paper. I didn’t know how to make the corners pretty, so they just aren’t. You also need your laptop on the counter so you can check the recipe (see link above).
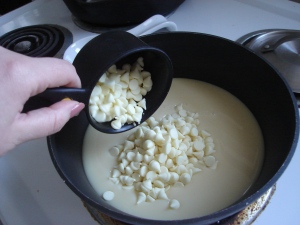
All the ingredients have to go in the pan, so start with whatever you want. If you have a nifty mini-spatula your mother in law gave you it will come in handy to get all of the sweetened condensed milk into the pan.
Then add the white chocolate chips. (speedy tip:1 of the 12oz. bags of chips equals 2 cups)
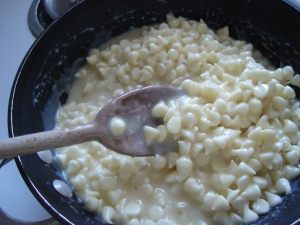
Start to heat the pan on low-medium. When you first start to mix it, the fudge will look gross and lumpy. Do not turn the heat up – even just a little bit – to try to speed up the process. A gross film will form on the bottom of the pan. Ask me how I know this.
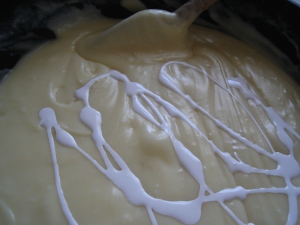
Once it started to melt and smooth out, I started to freak out. It was not white at all! It was very beige. Maybe it would dry white, but since I didn’t know for sure, and I had a secret weapon, I thought I would use it. I use white food coloring in all my cookie icing. It definitely makes the white whiter but I have heard it also makes the other food colors more brilliant.
So if you have white food coloring, add that now.
This next part has a lot of stopping and waiting. Pour 1/3 the white mixture into the lined pan. Take the rest of the fudge off the heat so it doesn’t burn. Put the pan in the refrigerator for 15 minutes. Right before the 15 minutes is up put the fudge back on low heat to melt it again. Pour 1/2 of the remaining fudge in a bowl and add orange food coloring. Do this quickly because it will start to harden!!!. Then pour this on top of the white layer. You will repeat this for the yellow layer, although you don’t have to transfer it to the bowl. You can just color it in the pan because it is the last one.
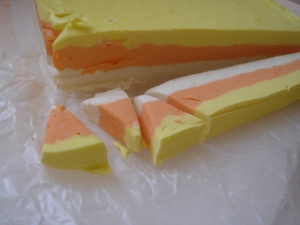
Let it chill overnight. The next morning you have this:
Then you cut off long strips and begin cutting those strips into triangles.
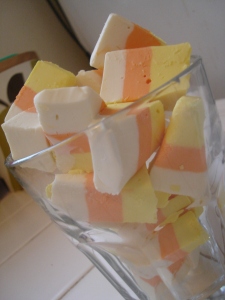
Does anyone else see the problem with this? Half of the triangles are going to have the white part at the bottom and real candy corn always has yellow at the bottom. SweetSugarBelle did a post about it when she made her candy corn cookies (http://www.sweetsugarbelle.com/blog/2011/09/slice-and-bake-candycorn-cookies/) I might not have paid attention to it otherwise, but on this occasion I just decided it was OK and to let it go. Besides, when they are all mixed together who is going to notice?
HAPPY HALLOWEEN EVERYONE!!!

